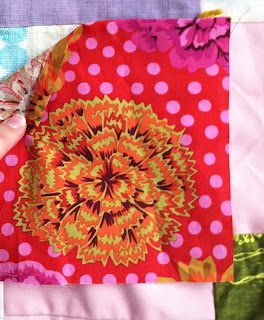
I replaced 28 squares on my Mom's quilt and thought I would share how I do it. I feel that a quilt is sentimental and replacing damaged blocks just adds to it by putting more love into it and giving you more memories with it.
Start with your damaged block and cut out fabric about an inch or so longer on each side.
Fold over the top edge and then run your nail across the edge to make it stay {my version of pressing, hehe, feel free to just press}.
I'm showing you about how long I do my thread. I don't want it too long because then it tangles up too much for me.
Put your needle through your patch right where the edge matches up with the corner of your upper block. Then invisible stitch the edge of your patch to the edge of your upper block.
I try to sew very tiny stitches. It makes it more secure and has a more finished look.
When your thread comes to an end tie a knot {I tie 2 or 3 knots because I have a fear of my hard work coming undone} and tuck the hanging thread under your patch. Then continue to invisible stitch along the edge of your fabric, just tucking the knot under the edge.
When you get to the corner, fold the next edge under, press, & invisible stitch.
And continue through your edges and then tie a knot {or 2 or 3, like me}. Clip your thread short and admire your handiwork!


1 comment:
This has been a real encouragement. I have my fil's quilt from childhood that I need to do the very same thing to. This has been a huge help to me. Thanks for posting!
Post a Comment