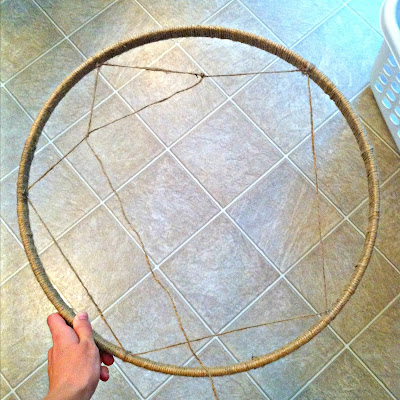
I wanted to make an extra large dream catcher and so I started out with the inside circle of a large embroidery hoop.
and some basic twine from any home improvement store.
Then wrap the embroidery hoop with twine, hot glueing along the way to keep the twine tight.
Be forewarned, it takes quite awhile to get all the way around the hoop.
Also, try to make sure that you'll have enough twine of the same brand to wrap the whole way around the hoop or you might have to deal with different shades of the twine.
Like me:
Then take the twine and tie it at random intervals around the hoop and then keep going around in levels, continuing tying the twine until you get to the center. Tie your final knot and cut the twine.
I ended up with a nice star design.
I think the tiny star in the center is particularly fun.
Don't forget to loop your twine at whatever spot you want to have as the top of your dream catcher. I secured it by hot glueing the twine around the hoop, then making a loop, hot glueing that, and then hot glueing the twine around the hoop once more.
Then comes the fun part.
Embellishment.
I added 3 lengths of twine on the bottom of the dreamcatcher. On the bottom of the twine, I added a couple of beads and then some large black feathers for character.
I added a few more feathers to the dream catcher and even hot glued a tiny dream catcher in the center that we picked up at the South Carolina State Fair two years ago.
Pretty much, add whatever suits your fancy.
Then hang it up on your wall and step back and admire your work!
I just really like how it looks in the dude's room.


No comments:
Post a Comment